
Stucco over brick: when it works and what has to happen first
Most of the GTA is brick, and a lot of it is tired brick. Covering it in a modern insulated stucco exterior is one of the best upgrades an older house can get. It is also one that has to be done in the right order, starting with the brick itself.
Why owners do it
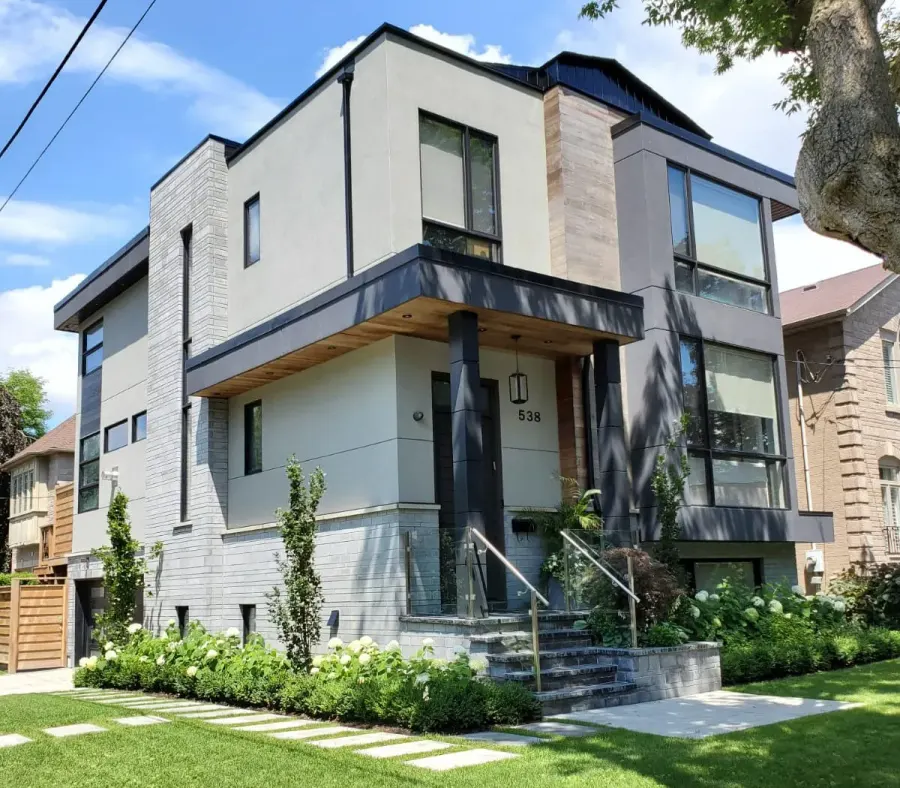
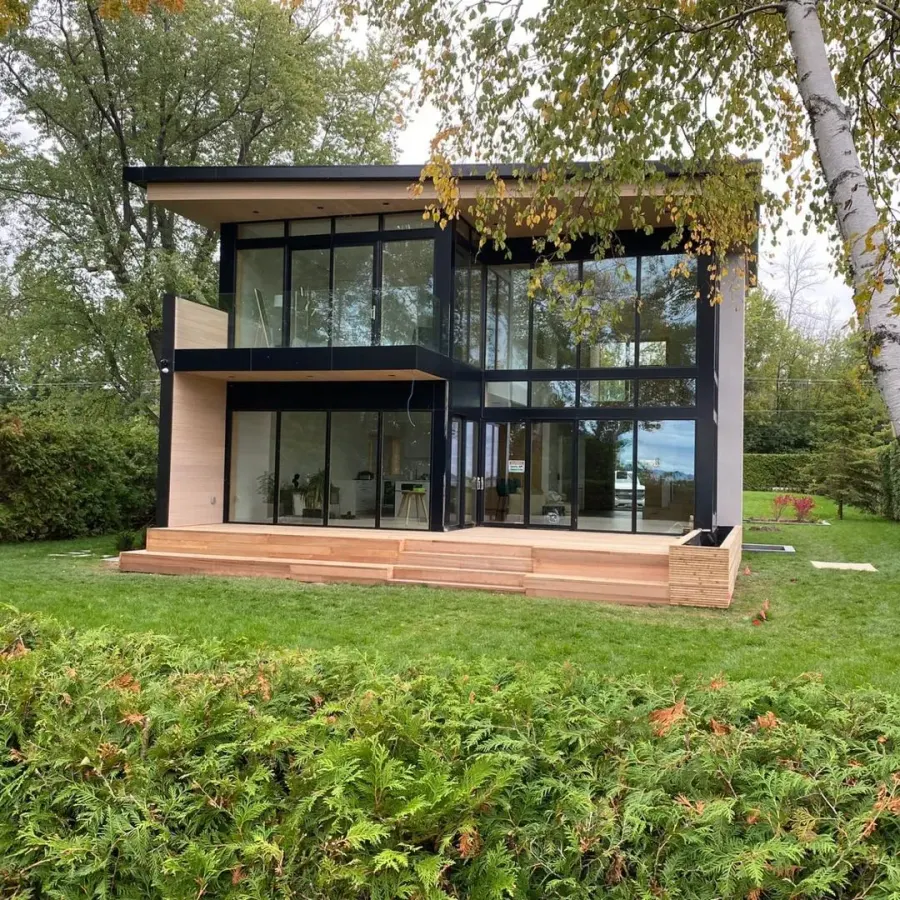
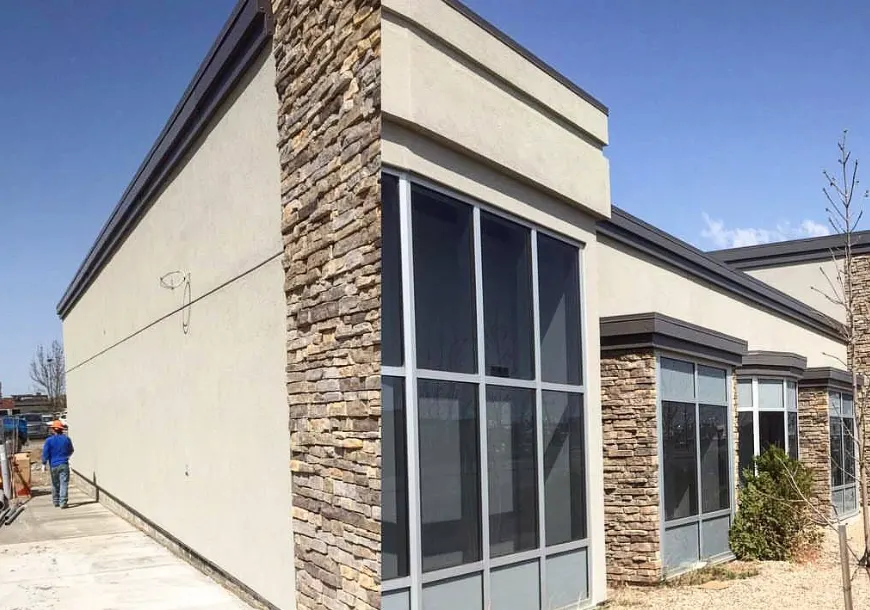
Three reasons, usually together. The look: a 1960s to 1990s brick house becomes a smooth, modern elevation with dark frames and a stone base, and the change is complete. The warmth: insulation board outside the brick is the most effective place to add insulation to an old house, and it can be done without touching the interior. The maintenance: failing pointing, spalling brick and efflorescence stop being a problem because the brick is no longer the weather face.
How it works
The brick becomes the substrate. Insulation board is adhered and mechanically fastened to it, bringing the wall out by the board thickness plus the coatings. A reinforced base coat and finish go over the board exactly as on any EIFS wall. Because the wall has moved outward, every window and door is extended with new jambs, heads and sloped sills, and flashed so water runs out over the new face. Mouldings, bands and stone go on where the design calls for them. The system stops above grade.
What has to happen first
The brick must be sound
A system fixed to brick moves with the brick. Loose units, failed mortar, cracked lintels and spalling faces are repaired or repointed before any board goes on. On most postwar brick this is minor. On older soft brick it can be a real job, and it is still cheaper than finding out later.
The wall must be dry
Brick walls hold moisture and release it. Covering a wet wall traps the water. We check for active leaks, failed flashings and blocked weep holes, make sure the wall can drain and dry where it needs to, and deal with any source of water before we cover it.
The details must be designed
Where does the new wall line stop at the roof, the soffit, the garage door, the foundation? How much do the windows get extended? Where does stone go and how does it meet the stucco? These are drawn out at the site visit so the house looks designed, not wrapped.
Permits, where they apply
Replacing a finish like for like usually needs no permit. Adding insulation changes the wall assembly, and some municipalities want a permit for that. Heritage districts need approval for any exterior change. We tell you what applies to your house before you commit.
Houses it suits
- Postwar brick from the 1950s on. Solid, well built, usually dry. The easiest case and most of what we do.
- 1970s to 1990s subdivision houses. Brick fronts with siding sides. The front alone is a common job, with the corners detailed to meet the siding.
- Painted brick. Fine if the paint is sound; loose paint is removed so the adhesive bonds.
- Semis and townhouses. With the party-wall junction detailed and the neighbour informed before scaffold goes up.
Houses where we say wait, or no
- Active water problems. A wet basement wall or a leaking parapet is fixed first, not covered.
- Bowed or moving walls. Structural movement is a mason's or engineer's job before it is ours.
- Heritage brick worth keeping. Some houses should stay brick. We will say so.
- Brick below grade and foundations. The system stops above the soil, always.
What changes at the windows
The wall comes out by two to five inches. The windows now sit deeper, which looks good when the jambs and sills are extended and detailed and looks buried when they are not. We extend the sills with a slope and a drip, finish the jambs, add head flashings and seal the frames to the new wall line. If the windows are due for replacement, doing them first or at the same time is worth discussing.
What you can expect from the job
No demolition and no dumpster of masonry. The work is all from the outside, so you live in the house throughout. A typical house takes a few weeks from scaffold up to scaffold down, depending on size, repairs to the brick and details. The result is a warmer, quieter house that looks new from the street, with a layer of insulation that pays back every winter.
If you are thinking about it, send us a photo of the house and a close-up of the brick. We can usually tell you from that whether it is a candidate and what would have to happen first.
Three steps to a written quote
Send a photo or call
Use the form or call (416) 676-6908. A photo of the wall helps us come prepared.
Free site visit
We measure, check what is under the finish and talk through the options.
One price in writing
A written quote for the work agreed, then a start date that holds.
Quick answers
Will stucco over brick trap moisture and rot the house?
Not when the brick is dry, flashings and weeps are working, and the system is detailed to drain and stop above grade. We check all of that first.
Can I do the front only?
Yes. It is the most common version of the job. The corners are detailed to meet the side cladding and shed water.
Does it add value?
A modern, insulated exterior changes how a house shows and how it heats. We leave valuations to agents, but it is one of the most visible upgrades a house can have.
Is the work insured and warrantied?
Yes. Stucco & Co carries $5 million liability insurance and WSIB coverage, and every job comes with a one-year warranty on our work.
Tell us about your walls
A free site visit anywhere in the GTA, then a written quote.